How to add a room
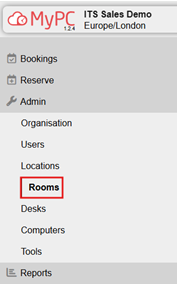
Access the Admin panel
Navigate to the admin section, where you’ll find options related to rooms, bookings, and configurations.
Adding a new room
Look for the “Rooms” section within the admin panel.
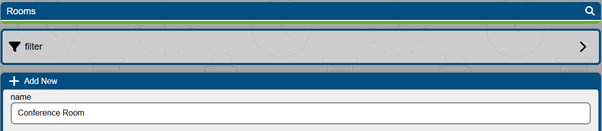
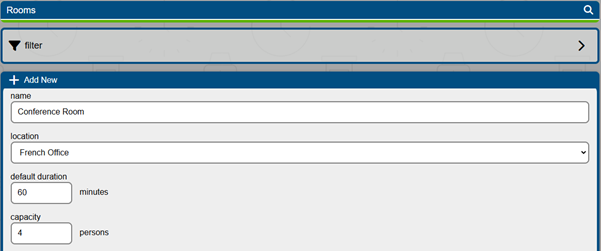
Click on “Add New” to create a new room.

Room details
Provide a descriptive name for the room (e.g., “Conference Room A” or “Training Room B”).
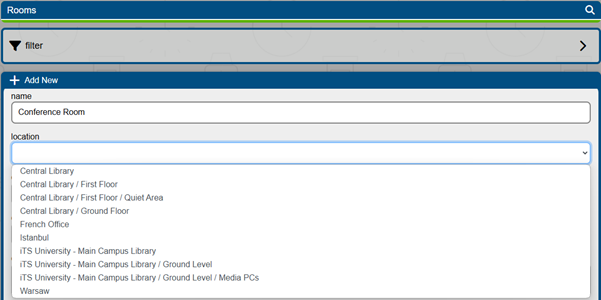
Select the physical location where this room is situated. The system will present a dropdown list of previously added locations (such as different floors, buildings, or zones).
Default booking duration
Specify the default duration for bookings made in this room. For instance, if most meetings last 1 hour, set that as the default. Users can adjust it during reservation if needed.

Capacity
Define the maximum number of seats or people that can be accommodated in the room. This helps prevent overbooking.
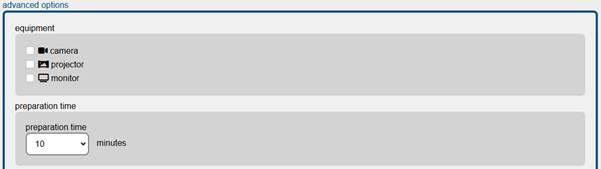
Advanced options
Explore additional configurations:
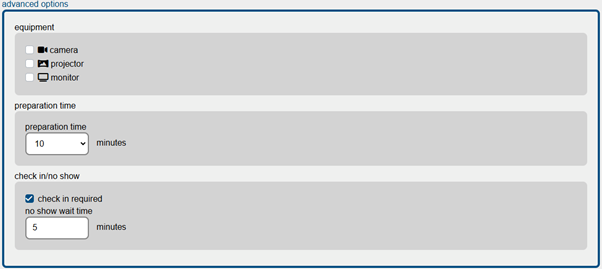
- Equipment: Check the relevant items available in the room (e.g., projector, camera, monitor).

- Preparation Time: Add a buffer before and after bookings to allow for cleaning or setup.
- Check-In Option: If enabled, users must check in physically at the room before their booking starts. You can:
- Configure a room display (see the Room Display article) to facilitate check-ins.
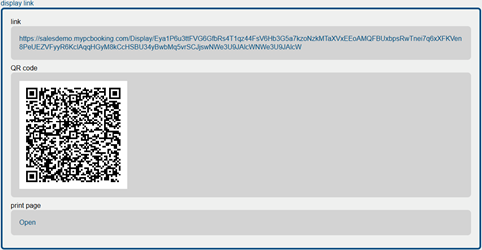
- Alternatively, place a QR code outside the room. Users can scan it with their smartphones to check in.
- Note: If users have previously logged in and selected “Remember Me,” they’ll see a “Check In” button instead of a PIN code dialog.
Finalise and add
Once you’re satisfied with the room details and settings, click the “Add” button.

Congratulations! Your new room is now part of the system and available for booking.
Bulk room creation (optional)
If you have multiple rooms to add (e.g., meeting rooms, breakout areas):
- Proceed in the same way as you would with adding a single room.
- At the end of the process instead of clicking on “Add” click on “Add Multiple”.


- Choose the start and end index.
- Click on “Add”
- The system will add multiple rooms which will have the same name and settings, but with a different number appended to the end.

Additional features
After adding a room, a few extra features become available:
- Map: If you’ve uploaded a map, you can pin this room’s location on it.

- Display Link: This provides a unique URL to display the room’s status via a tablet or smartphone browser. You can also print a QR code to stick outside the room for easy scanning by users during booking or check-in