
MyPC Cloud Client Guide
Please note:
Disabling Fast Startup is a required configuration for all MyPC devices. This ensures that the MyPC Client initialises correctly on boot and shutdown. Fast Startup can interfere with background services and network initialisation, potentially causing issues with session validation and device availability. The following article explains how to do this via Group Policy Preferences : How to Disable Fast Startup via Group Policy Preferences - MyPC Cloud Help Centre
The MyPC Client requires a continuous connection to the cloud service to operate correctly.If the computer enters sleep mode while a session is active, the booking will remain visible on the interface. During this time, the client will disconnect from the cloud service. Upon waking and reconnecting, the client will revalidate the user session.
Create your client
To do this you do require user rights to carry out this task. You will need to be an Owner or Super Admin.
- Go to Admin > Tools > Computer Tools
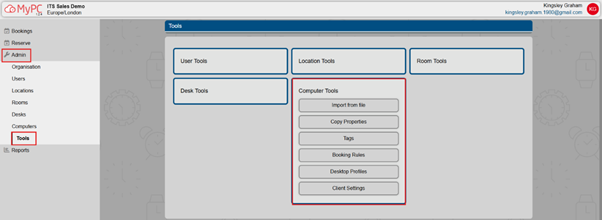
- Select Client Settings
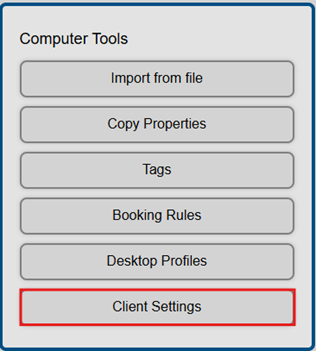
- You will now see Client Settings section; here you can see current User Clients set up and add new option.
- To Add a New Client please go to ‘Add New’


- Please give your Client a Name
- Select the Client type (Public Library/EntraID)
- Enable Proxy Server Settings if required
- Select Session size (Small, Medium, Large)
- Select if you wish to Pin user session
- Select if you wish to display username on user session
- Click Add
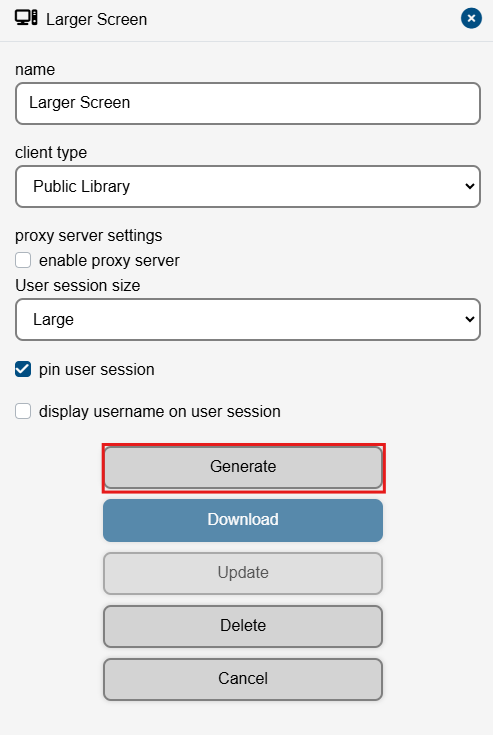
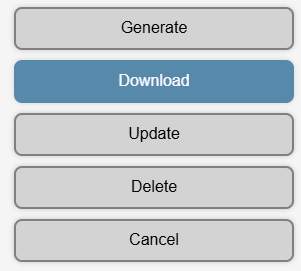
- You now need to generate the MSI Package. To do this click Generate.
- You have successfully created your client.
Deploying your client
From creating your client and generating the MSI Package, after 30 seconds you should be able to select download.
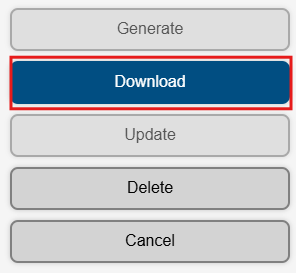
Once downloaded you can now push this MSI package out to those computers you wish to use this Client on.
Following the Instructions
Please note the MyPC Cloud 1.34 and higher client supports Windows 10 and 11 64bit operating systems only and requires .NET10 Desktop runtimes if using an older client please contact us:
Download .NET 10.0 (Linux, macOS, and Windows)
- Run the MSI Package
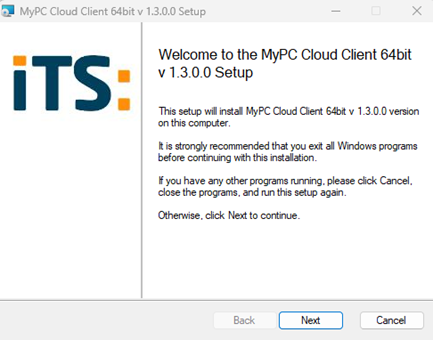
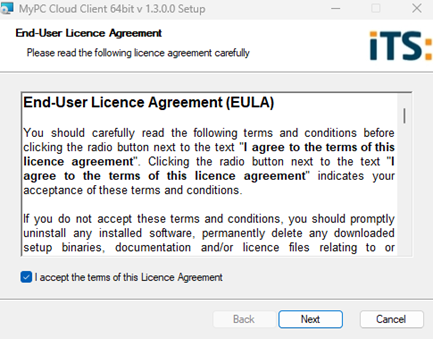
- Once clicked next you will need to Accept the Licence Agreement
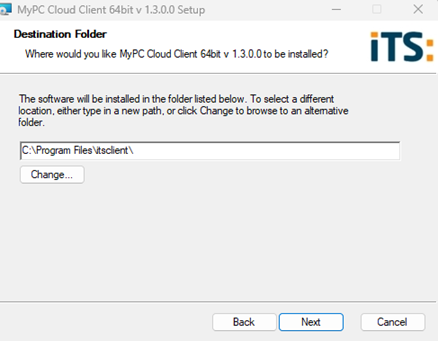
- Select your folder location
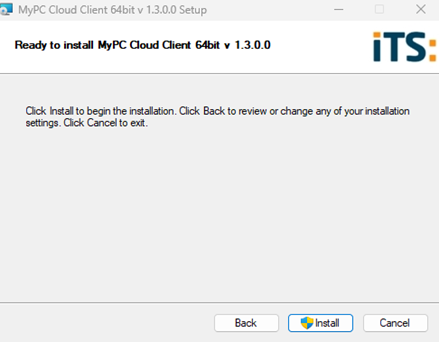
- Now you can install the Client
- You have successfully deployed your client.
Making changes to current Clients
If you need to make a change to a user client, you will need to generate the MSI package and download and deploy this again.
- Update the Client first
- Generate the MSI Package
- Download the MSI Package