
How to create Guest Users
Within MyPC Cloud you have the option to add guest users. To add a guest, you will first need to create guest templates. This guide will go through the steps for adding the guest templates and how to add a guest user. You will require specific rights to do this. Users are unable to add or make these changes.
Guest Templates
- Go to Admin and then Tools.
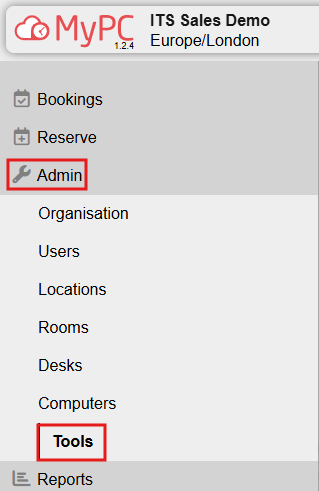
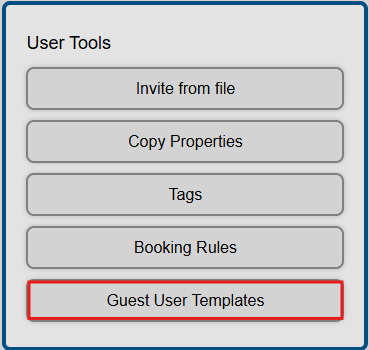
- Under User tools please select Guest User Templates.
- Go to add new
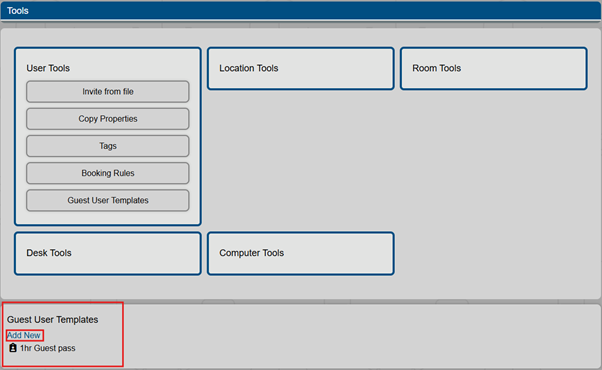
- You will need to fill in the relevant fields.
| name | The name of the guest pass template |
| username | This is the generated username of the guest pass - you can optionally include a user prefix and the number of figures for the pass *please note if you use a non numerical prefix the barcode will not be generated. |
| password | You can choose to have a numeric or alphanumeric password and the length of the password *minimum is 6 |
| user expiry period | how long the guest pass is active for options: never expire, hours, days, months |
| show expiry information in the receipts | When printing the guest pass you can choose whether to show the expiry information |
| tags | Choose the tags assigned to this guest users created by this template - the tags are used to create booking rules |
| activation | you can choose to make the pass active on creation or at first login to web or client. |
| description | Optional description. |

- You have successfully added your Guest template you can now follow the next step for inviting a guest user.
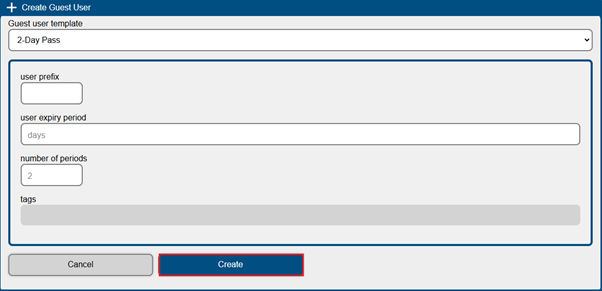
Adding a Guest User
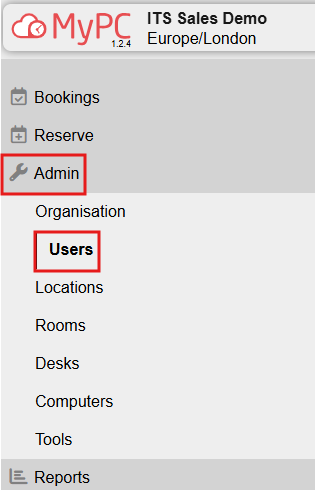
- Go to Admin and then to Users.
- Click Create Guest User

- Select the Template you created and click create.
- A new window will pop up with the guest user credentials. You can view the Password by clicking on the eye. You can print this or write it down for the Guest User.
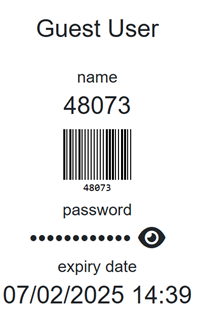
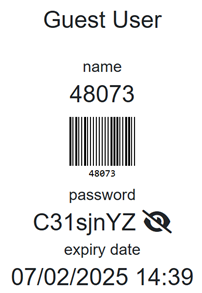
*Please note when printing the guest pass has been configured to scale for thermal receipt printers using 80mm rolls.